In this article, I’d like to share 10 dog photography tips for beginners who are embarking on their journey as a dog photographer!
1. Work with natural light
If you want to create a beautiful atmosphere in your photos, it’s important to work with the right light.
The most beautiful light is usually found during the blue hour, an hour after sunrise, or during the golden hour, an hour before sunset. During these times, the light is less harsh, resulting in softer shadows and a more gentle atmosphere in your images.
Even a cloudy day is fine for photos. The cloud cover provides a beautiful even distribution of light with a soft effect on your subject!
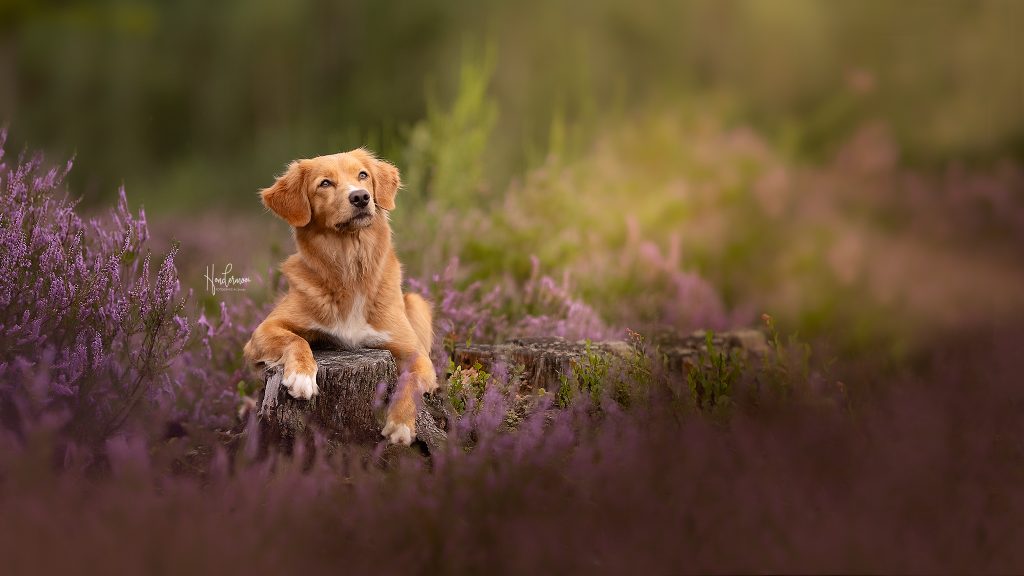
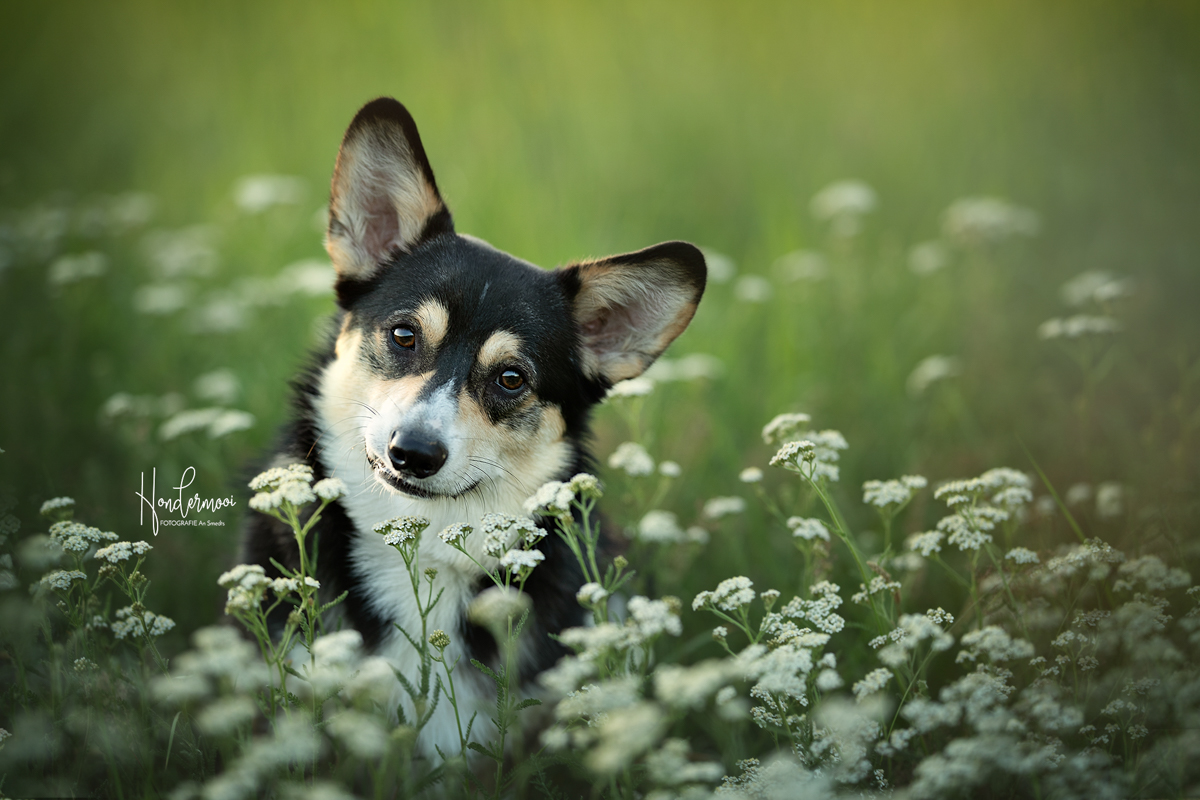
2. Pay attention to the background
Choose your location carefully, paying special attention to the background. Avoid placing the dog directly in front of a tree, as it may appear as if the tree is growing out of its head! Look for a location with ample depth, such as an alleyway or a long forest path. This way, you can keep the background nicely blurred, directing all the attention to your subject!
Read more here about how to create a soft background in your photos!
3. Work at the dog’s eye level
During an outdoor photoshoot, I typically lie flat on the ground! This creates the impression that the dog is stepping directly into your camera, resulting in a more engaging image compared to shooting the dog from above.
Of course, rules are also meant to be broken, and occasionally, you can choose a different perspective to add some variety to your shoot.

4. Focus on the closest eye
Use a single focus point in your camera or utilize the animal eye autofocus if available. Always focus on the closest eye.
If you’re working with multiple dogs, try to align them on the same plane so that they are all in focus.

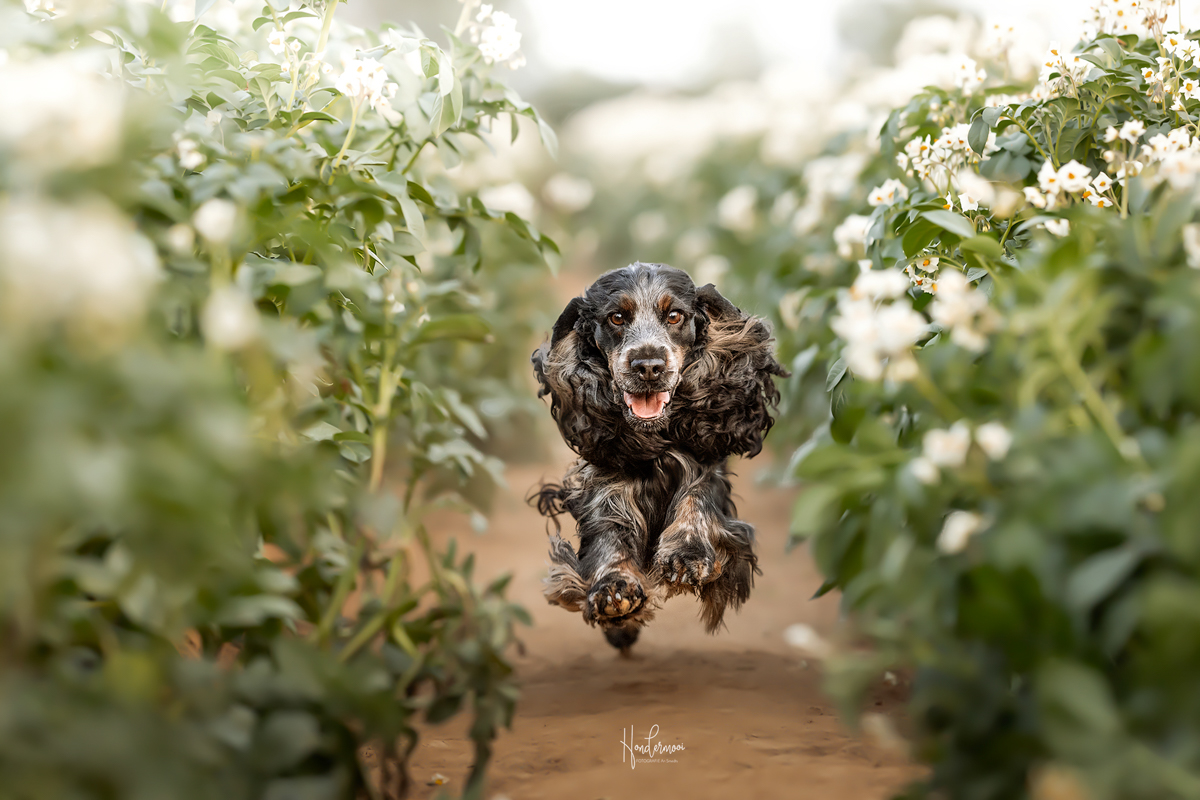
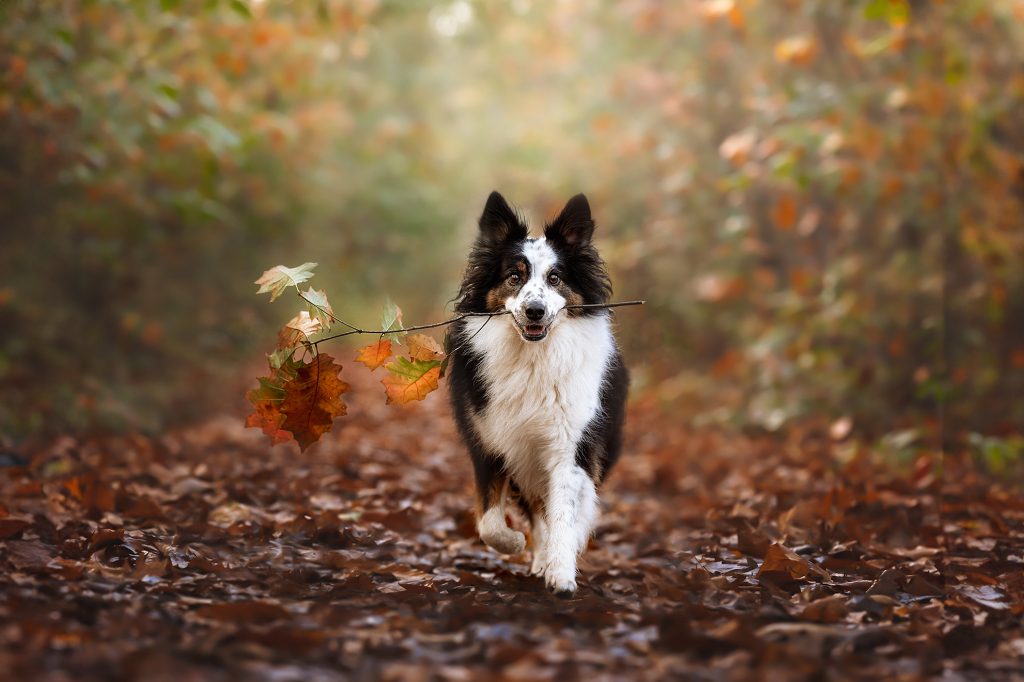
5. Use a high shutter speed
Dogs love to run and be active. Even during a portrait session, the dog may not always remain completely still. Anticipate this by setting your shutter speed high enough.
A shutter speed of 1/1000 is a good starting point to freeze the motion of a dog in action.
6. Reward!
The most crucial aspect during a photoshoot with dogs is that the dog enjoys it! Of course, the dog won’t care much about the owner wanting a beautiful photo on the wall, but the more fun the dog has during the shoot, the more it will reflect in the photos!
Reward the dog generously with treats, its favorite toy, or a big cuddle during the session!

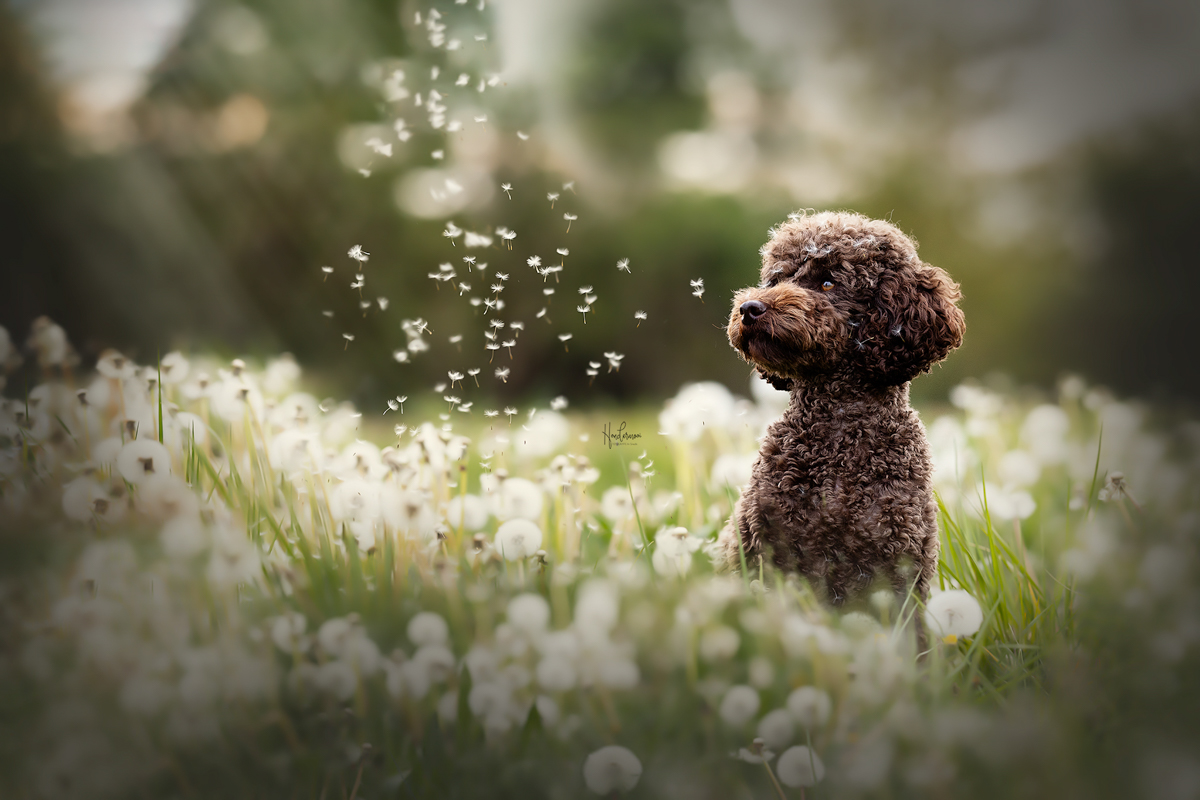
7. Capture attention with your voice
Of course, the dog doesn’t need to look directly into the camera for every photo, but for creating a compelling portrait, it’s helpful if you can quickly grab their attention. Personally, I prefer using my voice. It’s always with you, and you don’t need to hold a squeaker or anything else in your hand.
Make high-pitched squeaking noises or an unexpected sound to grab attention. Also, words like “treat?” can have a good effect! This results in an expressive gaze with beautifully perked-up ears! However, avoid calling the dog’s name; many dogs will come to you then!
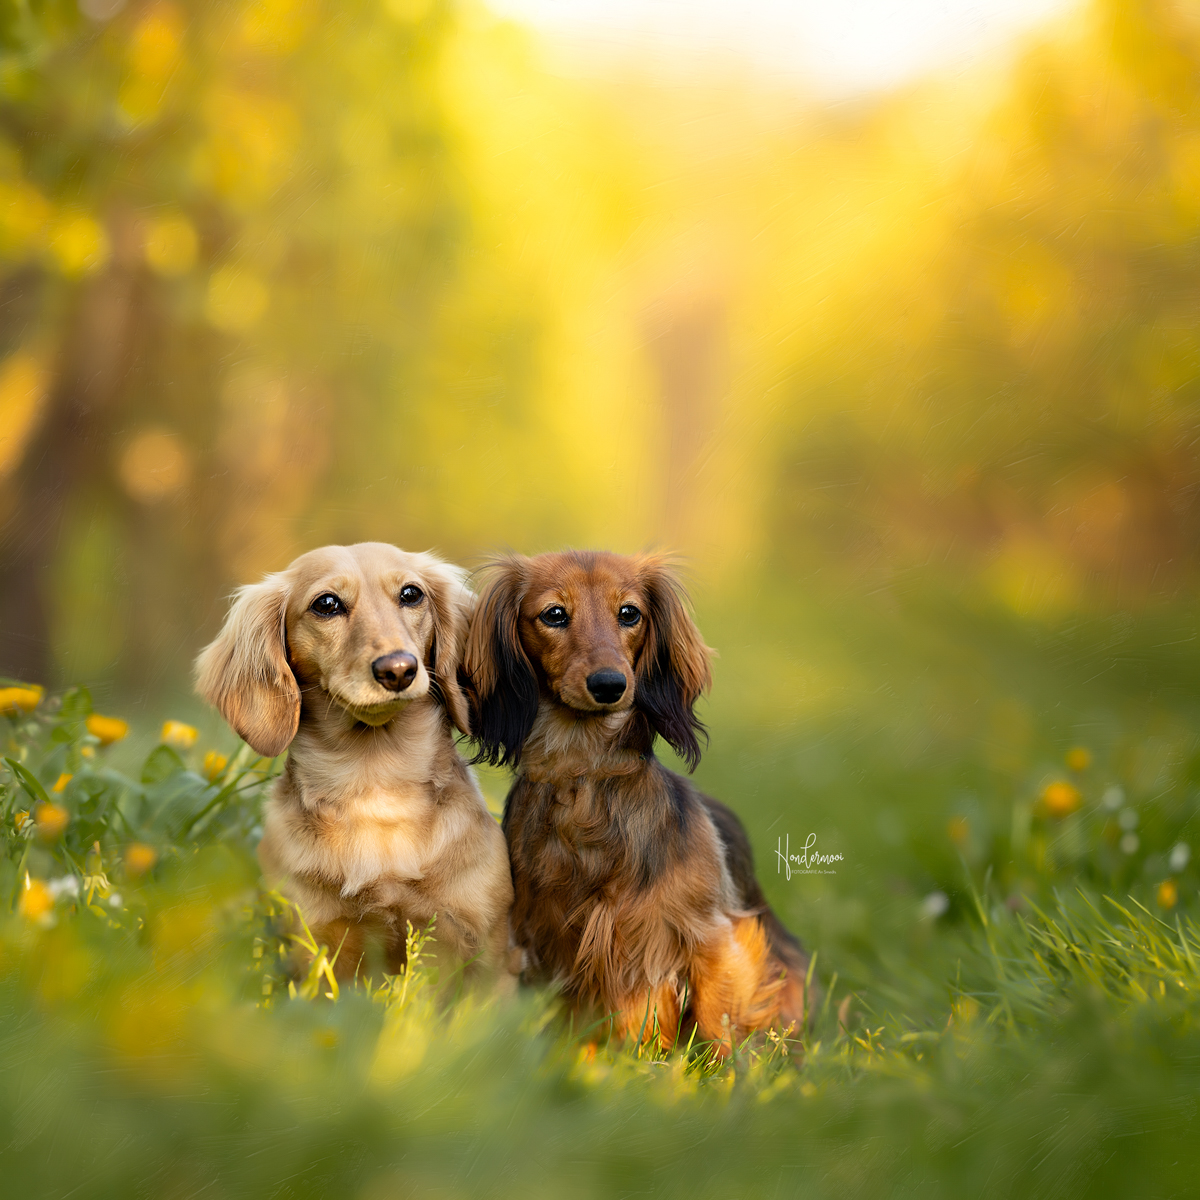
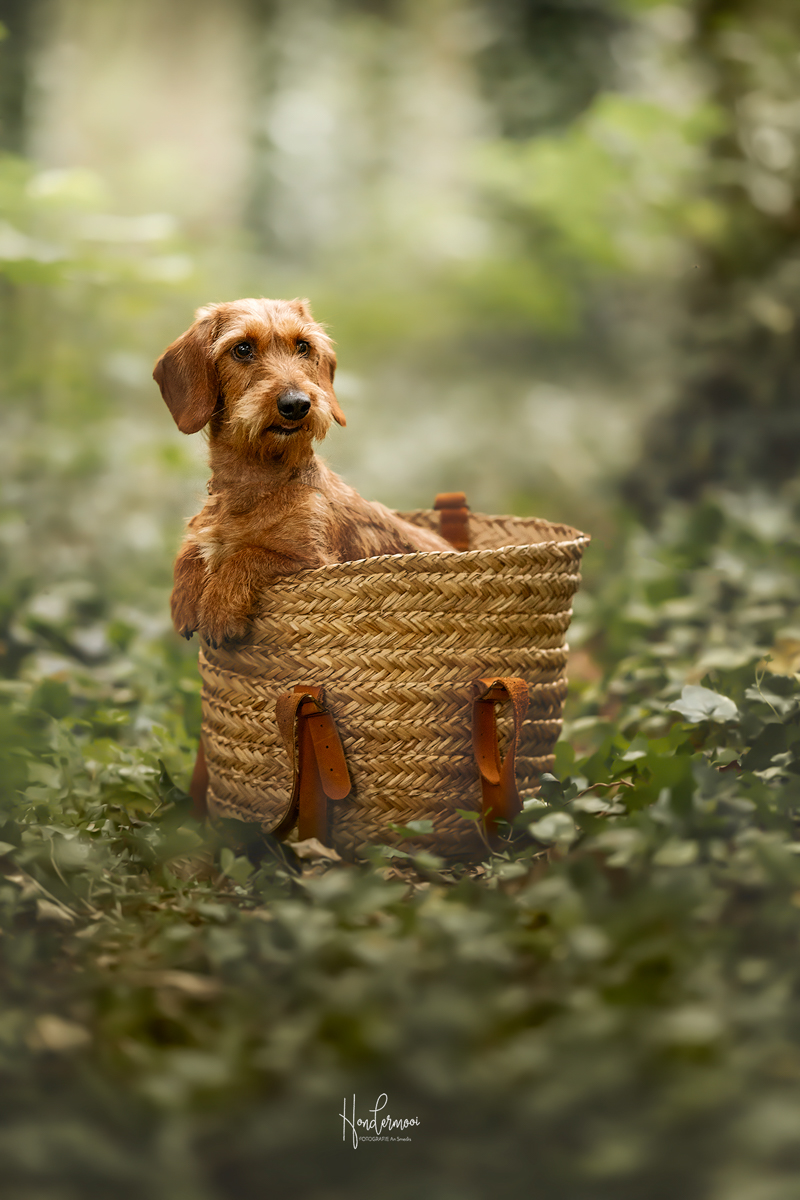
8. Introduce variation into your shoot
Once you’ve immortalized the “classic” poses like “sit” and “down,” it’s fun to bring some more diversity into your shoot. Ask the owner if the dog knows any other commands, switch lenses, try a different perspective, or bring a prop like a bag, scarf, lantern, blanket, or cart for some variety!
Who knows, the dog might also know some fun tricks that you can integrate into your shoot? Read this article if you want more inspiration for fun dog tricks!
9. Save your action shots for last!
Action shots are always fun but also tiring for the dog. If you start with them and let the dog run around several times, its tongue will soon be hanging out, especially in the summer! It then becomes much harder to take beautiful portraits afterward. That’s why I always save the action shots for last, and it’s also a positive way to end the shoot!
10. Don’t forget the owners…
Many owners take endless photos of their beloved four-legged friends but have hardly any photos with themselves in them. So, it’s nice to give them a moment during the shoot to be in the spotlight together with their dog!

Are you looking to further specialize in dog photography and learn how to capture dogs in an artistic manner? Consider taking a workshop on artistic dog photography to boost your skills and elevate your photography to a new level!